
Amazon Classroom Wishlist Setup
Teachers know all too well how to “do more with less,” especially when it comes to classroom supplies and materials. Even though many districts supply classroom teachers with the essentials, it is often up to us to supply our classrooms with anything else.
Donation trees at Back-to-School Night and wishlists that go home at the beginning of the school year are helpful, and I have a donation system that will make them even MORE helpful!
AMAZON CLASSROOM WISHLISTS!
Just the same way you set up a regular Amazon Shopping List, these Classroom Wishlists have on them all of the specific items you need for your classroom, plus they offer the ease of shipping directly to your school… Win-win!
Here’s a quick tutorial to get yours set up and get you on your way -
STEP 1 - Create a Shopping List
Hover where it says “Accounts & Lists” on your home page, and click “Create a List.”
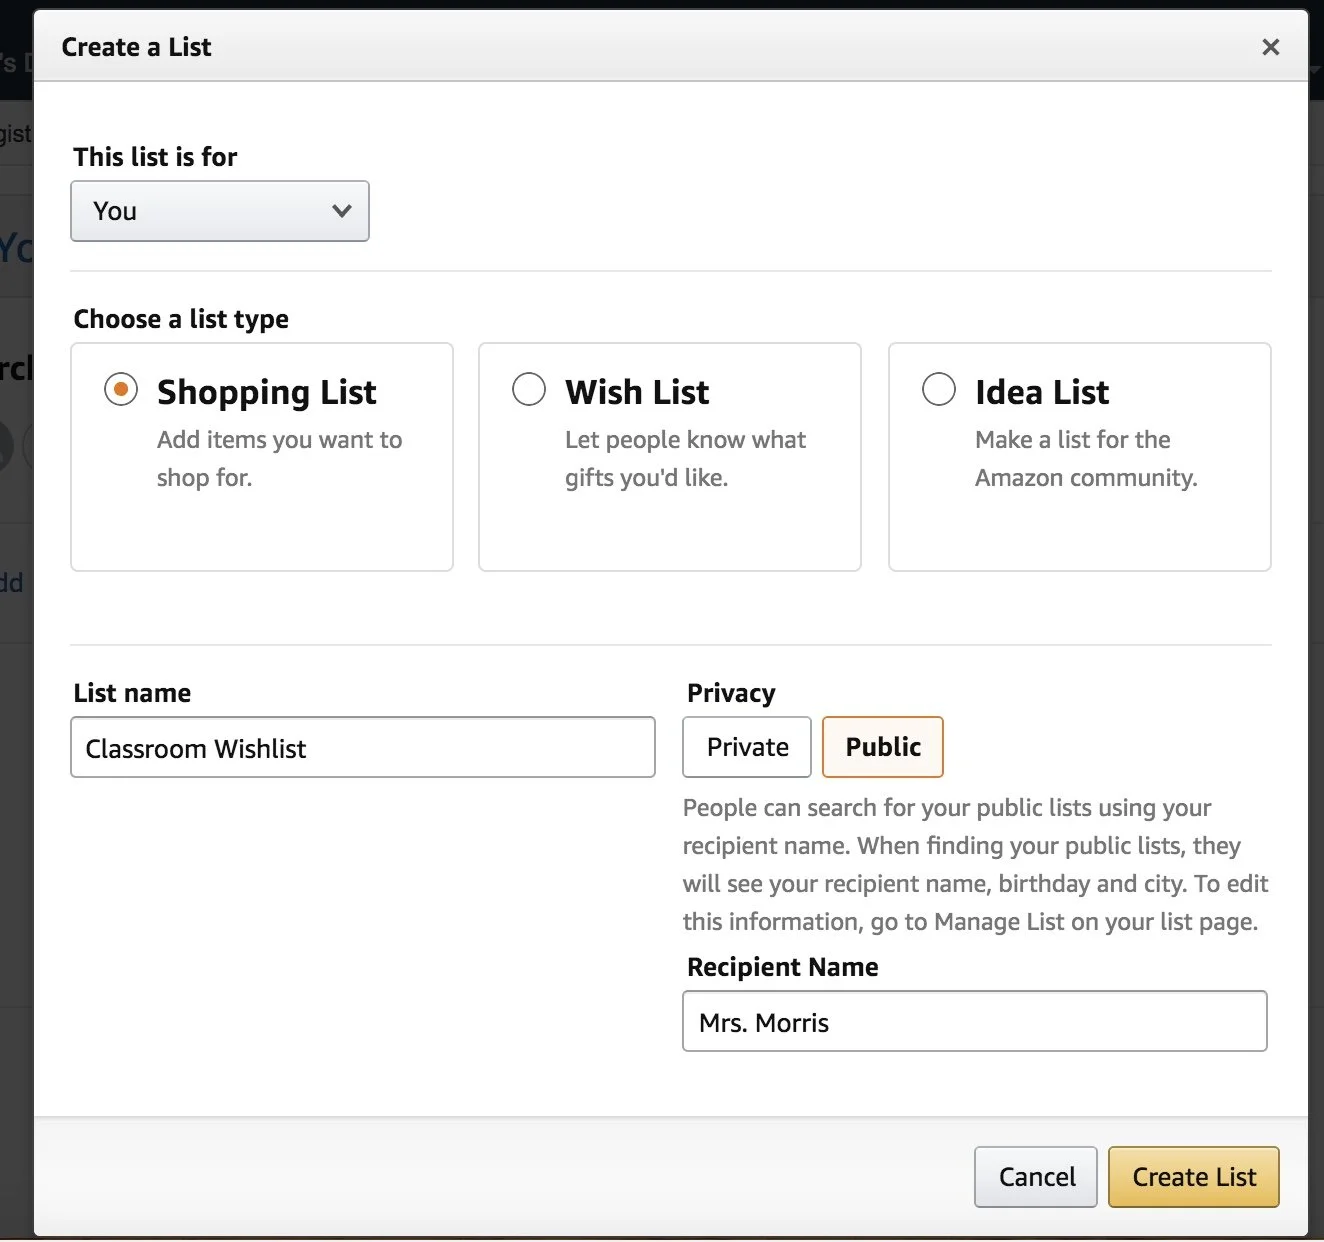
Name this Shopping List with any title that will be easily recognized by your donors. Also, make sure to set your list to “Public” if you want it to be searchable, and put the name your students call you in the “Recipient Name” field.
STEP 2 - Enter List Information
At the top right corner of the window, hover where it says “More” and then click “Manage List.”
Here you will be able to enter specific information for the list, such as your school email address (so you will have that one attached to the list, rather than your personal email), shipping address (this is where you enter your school address for easy shipping), and other settings.
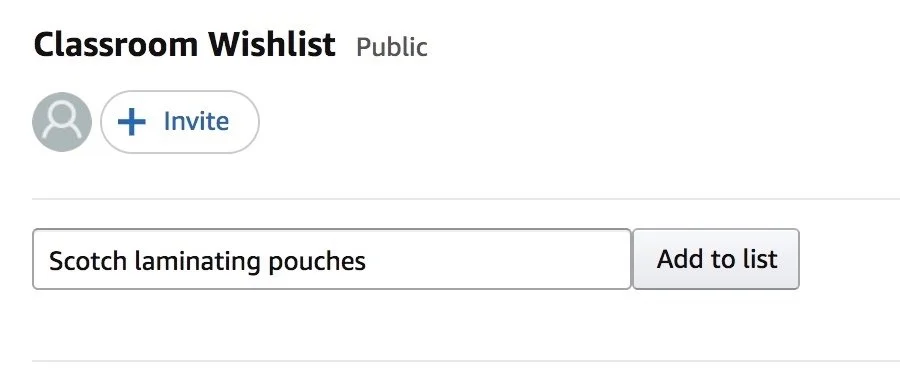
STEP 3 - Fill the List
This is the best part - SHOPPING! Simply search for the items you’d like for your classroom, and add them to your list (right below where you would normally click the button to add an item to your cart, there is a drop-down menu to add the item to a list).
STEP 4 - Share the List
When you are looking at the list page, click on “Send List to Others” at the top right, next to where you found “More.”
Simply click “VIEW ONLY” and then “Copy Link.” Now you are ready to paste the link to your email signature, welcome back email, and anywhere else your heart desires!
And when you update your list, not to worry - the link stays the same!
FUN TIP - I like to make a QR code with my list link so I can easily add it to my syllabus and other items that might go home in hard copy!